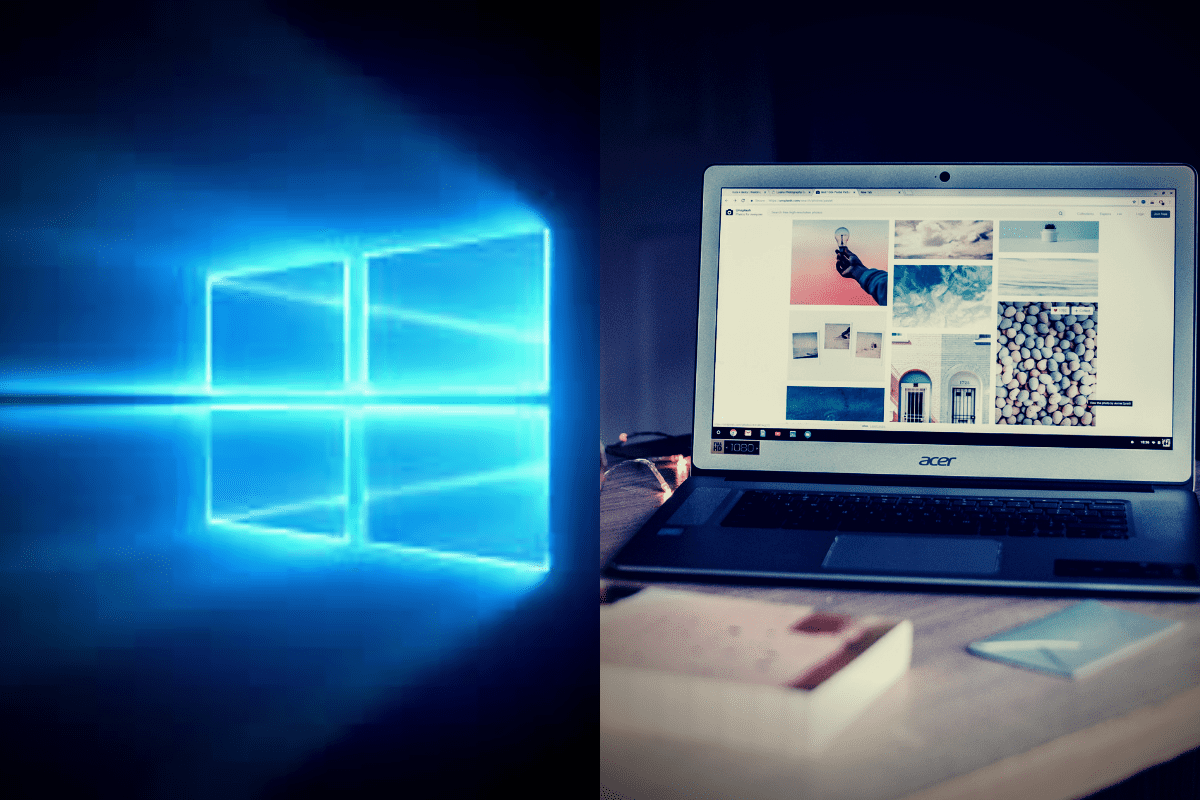
Since Chromebooks come with a particular category of BIOS that is for Chrome OS, it does not support Windows. But there is always an alternative to do anything same goes for installing Windows 10 on some of the Chromebook models.
However, the choice is totally up to you because it is not officially licensed. Here is the complete elaborate step by step process of installing Windows 10 on a Chromebook:
About the process
To install Windows 10, the first thing one will need to do is install a replacement BIOS for the Chromebook. Only by establishing a substitute BIOS one can boot and install Windows. However, the substitute BIOS is not for every model of Chromebook because it works on a model that it supports.
Besides that, one will also need some other hardware like a USB mouse and a USB keyboard because the inbuilt mouse and keyboard will not work in installation. One other thing will be a separate PC running Windows to develop the USB installation media for the Chromebook.
Is your Chromebook suited for the process
It is advisable to install Windows 10 on a Chromebook only if the model supports it. Since each model’s instructions are different before starting the process, one must follow all the instructions carefully. Here is some helpful information:
There are various websites on which one can know about all the models of Chromebook that support the replacement BIOS. Other Information like what hardware one will need and which inbuilt hardware elements will and will not work will also be there.
There are also several online communities dedicated to the installation of Windows 10 on a Chromebook. If one needs to find any information, these communities are the best places.
- All of the above information is for the models which do not support the installation of Windows 10. However, by following some steps, one can make a Chromebook support Windows. The following is the process for installation of Windows 10 on a Chromebook:
How to get the Chromebook ready
- The first step is to turn off the Chromebook.
- Remove the Write Protect Screw by opening the back. Every model of Chromebook has a different Write Protect Screw, so it is advisable to do the homework.
- After that, to enter Recovery Mode, one has to press Esc + Refresh + Power.
- Now it is time to Enable Developer Options, and to do that, press Ctrl + D, then press Enter.
- To boot Chrome OS, hit Ctrl + D.
- Open a different tab and hit Ctrl + Alt + T.
- Now type in ‘shell’ and press the ‘Enter’ key.
- Paste
https://mrchromebox.tech/uefi-flash.sh
&& sudo bash uefi-flash.sh
- Hit the ‘Enter’ key.
- There will be some options on the screen to select Full coreboot Firmware from those options.
Downloading Windows on Chromebook using a USB flash drive
- The first thing to do is open a browser on Windows.
- Download the software for Windows 10 installation from Microsoft’s website.
- Insert a USB flash drive in the device.
- Open the downloaded file and press ‘Accept.’
- Choose the option Create Installation media for a different PC.
- Click ‘Next.’
- Select ‘Use the recommended options for this PC’ and hit ‘next.’
- Choose ‘USB flash drive’ and press ‘hit.’
- After all of that, wait for the process and hit ‘Finish.’
Install Windows on Chromebook with a flash USB drive
- Insert the Chrome OS Windows USB flash drive into the Chromebook.
- Naturally, the Chromebook boots directly, but if it does not press ‘Esc.’ Select your USB device.
- Connect the USB keyboard and USB mouse to the Chromebook.
- Check if the region and language are the right ones, then click ‘Next.’
- Press ‘Install now.’
- Choose ‘I don’t have a product key.’
- Choose Windows’s version.
- Click ‘Custom: Install Windows only (advanced).
- Hit ‘Next.’
- After installing and rebooting the Windows, remove the USB Drive.
- The final step is to set up Windows.
Conclusion
After the process, you will have a Chromebook that is a fully functioning Windows computer. If you have any questions, many websites will help you find the right answers.
